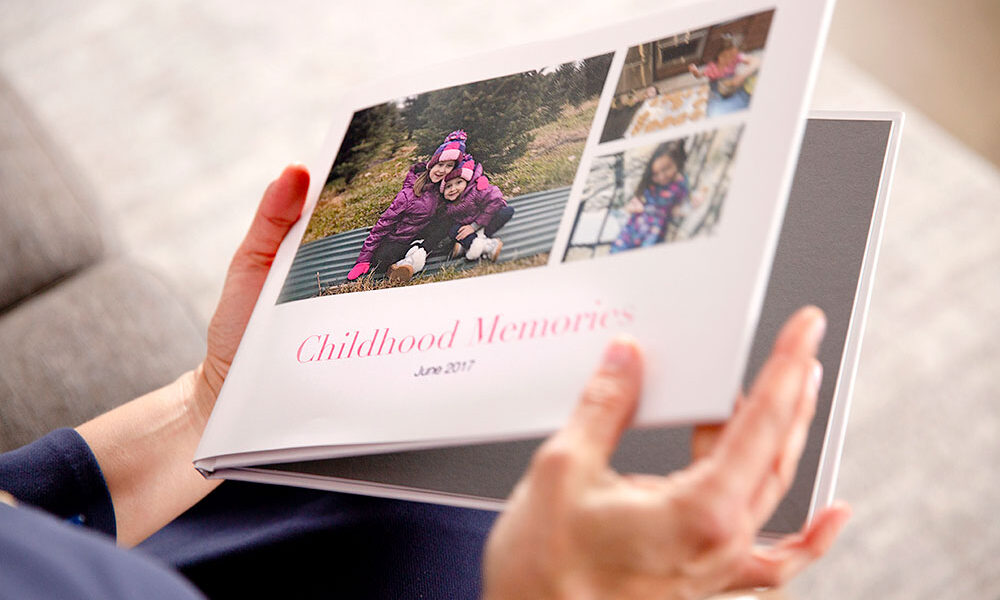
Do you want to turn your memories into masterpieces? A photo book will enable you to accomplish and preserve all the beautiful moments spent with family and friends. The photo book is one of the most elegant and beautiful ways to treasure sweet memories and share them with loved ones. They allow you to make a priceless heirloom that will endure for many years. It is the simplest way to create a memory and to give their special one an authentic collection of digital images.
If they are still determining where they should start, they can get help from photo book services. With the help of Photo Book Printing Services, they can create a snapshot album smoothly and easily. This article will tell them the step-by-step process of making an album. Everything from choosing the best images to selecting the ideal arrangement and design to print their masterpiece will be covered. This process will help them create a piece of art from their memories that they can cherish with their loved ones lifelong.
Step-By-Step Process to Create a Personalized Photo Book

Building memories and creating a photo book out of it is one of the best ways to document your special moments. This photo book becomes a great memory they can easily share with their loved ones. Follow this step-by-step process to create a personalized photo book:
1. Gather All Photos
Before you start creating an album, one of the most important steps is to gather a snapshot from different sources like Instagram, Facebook, Gallery and many more. Then, arrange them in a separate folder, so they don’t forget to include images they want to add to their album.
After collecting images, you can categorize them as per date, time or day so that it would become easier for them to choose which picture they want on the first page and so on. However this step might take some minutes, but it is a crucial step you must follow to build a beautiful memory.
2. Highlight Your Favorites
The second step while drafting their album is choosing the favourite picture they want to display in their album. Remember to select pictures based on their quality.
If the pictures you select are unclear or out of focus, it might appear blurry in their photo book while they enlarge or take a printout. You must select snapshots depending on their angle and lighting. Review your images carefully and highlight them as their favorites.
Moreover, they can make certain editing in their images like crop, background change, resizing and so on. They must ensure that their snapshots are clear and flat while putting them in their photo book.
3. Select a Theme
The third step is to select a theme for their album which would help them to give a unified look. The theme provides a perfect storyline to their snapshots and matches their narratives correctly. They can experiment with different themes and styles, choose which matches their narrative accordingly, and weave a story out of it.
4. Choose a Book Size, Cover and Paper Type
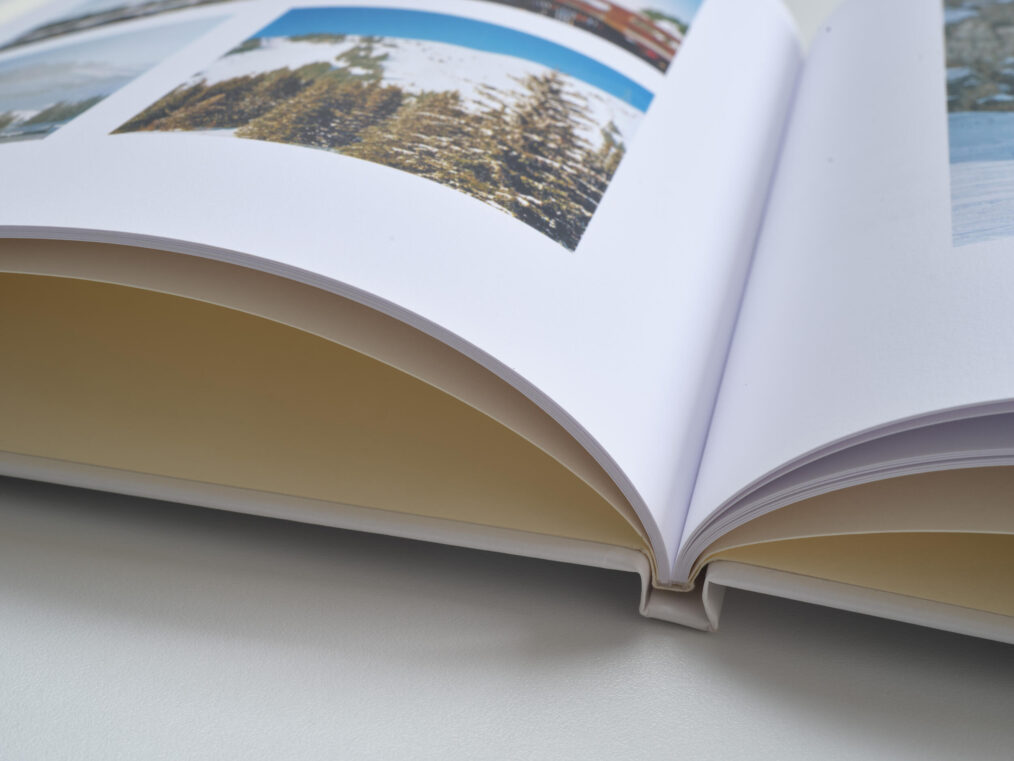
The fourth step is selecting an album size, cover and paper type for their photo book. Before printing their photo album, they need to select the accurate size of their manual to fit their photos perfectly and to provide a polished look to their portrait cover.
Another essential aspect is selecting a beautiful cover for their image manual which adds grace and a professional look. This is because whenever they wish to revisit their old memories, they can grace the cover photo, which will relieve them of their sweet memories.
In addition, they must select paper type as it provides a certain look to their photo book. As per your taste, they can add glossy page options that will enhance the beauty of their portrait book. If they still need clarification about which page type they should include in their snapshot album, take help from picture book printing services that will guide them properly.
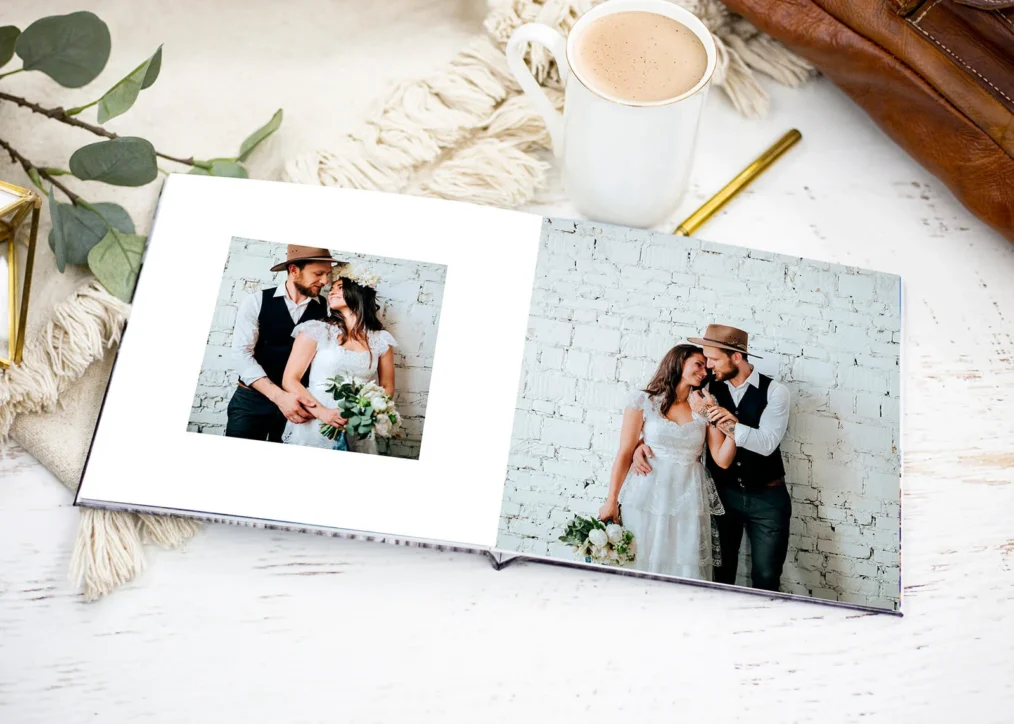
5. Decide a Proper Layout
The fifth step in creating your photo book is selecting a photo layout to help them convey their stories to the audience. They can use different page layouts to emphasize their photos differently.
As per their convenience, they can place a single image on one page or a collection of different images on a single page. In addition, they can even feature a single snapshots in the middle of the page or the center of the page as per their preferences. Moreover, the snapshot book allows them to select images for two-page spreads; they can select images which relate to each other or one panoramic image spread on two pages.
6. Add Text to Images
The sixth step is to add text to your images to build a magnificent memory through letters. They can select the style in such a way that provides them with space and allows them to write captions for their portrait which define the story behind them. In addition, they can even add a date or any beautiful incident related to that particular image to improve the appearance of their photo books.
7. Convey Their Story
The last step in creating a photo album is to arrange photos, so they speak the story of their life. As they know that each portrait conveys a story behind it. While creating a portrait book, they can arrange portraits chronologically so that it defines their life story. This will help them to define the sequence of events that occurred one after the other.
Conclusion
Summing up the article, a snapshot book is a great way to preserve beautiful moments spent with loved ones and cherish them lifelong. They add a personal touch and unique style to the snapshot they have captured with their family and friends. So, what are you waiting for? Build a fantastic yet personalized portrait book of their memories.