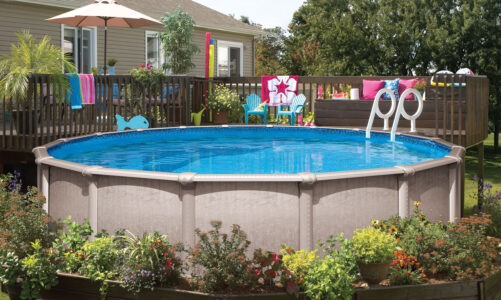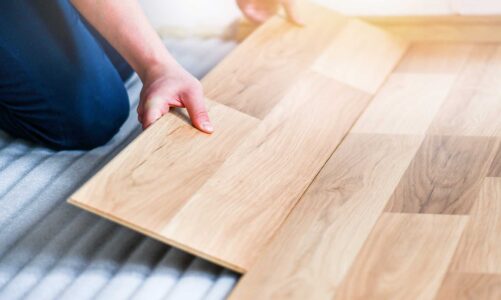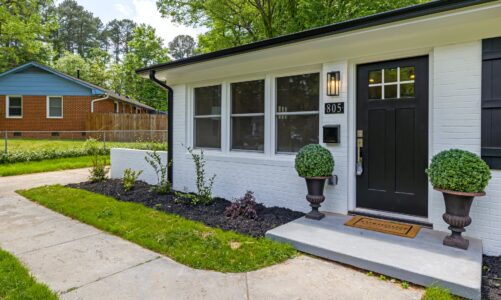
Taking the time to renovate or fix certain parts of your house is an important thing both for the longevity of the building and for aesthetic reasons as well. However, you need a good plan so you can make sure that you are doing everything right.
You should take your roofing seriously because it is one of the most important parts of your house. Not only that it protects you from the outside conditions, but it protects the remaining parts as well. To increase the longevity of your current roof, you should maintain it regularly. Refreshing the looks with new paint improves your house visually, and adds another layer of protection, so you should consider it.
In this article, we are going to talk about the whole painting process. Since preparing the roof is the most important aspect, we are going to give it a little more accent so you know where to begin in your project.
Observe the state of your roof
Before you even get your materials and start the preparation process, you have to see the state of your roof at the moment. That way you will know if certain repairs have to be done. However, broken pieces are not the only thing that you have to worry about.
You should be looking for misalignments, mold particles being stuck, and anything else that should not be there otherwise. Although there is no literal work, this is the key process for determining your plan. You will know your approach and you can make your job easier.
Fix any broken parts

This is the point where you have to decide if you are capable of doing all this work by yourself, or you should hire a professional to do it for you. It’s always best to go with the help of a professional even though it is the more expensive route. They can do it quick, clean and much more efficiently as suggested by Rooflock.
However, if you have worked with roofs in the past or you are a person who likes to do everything on their own, try the repairs by yourself. Make sure that you begin from the bottom and continue up. Throw away every damaged piece and replace it with a new one. When you have made sure that everything looks nice, continue with the next step.
Make sure that you do a proper cleaning
For this step, you will need a pressure washer. If you don’t own one, make sure that you get someone to lend it to you. It is not smart to buy such an expensive machine for one project. Climb up, and start from the upper portions.
Start only with water and try to get as much gunk as you can. You can prepare a mixture to treat areas that have been covered with mold so it prevents its growth again. Do a proper rinse in the end you should be good.
Leave a couple of days before your get to painting
You should not rush this whole process. Everything has to be done in stages so we can expect results that will make us happy. After making sure that you leave your roof gunk-free, leave a couple of days before you do any next step. Everything has to be dried out so the priming can be done properly. That is also why it is advisable to start this project while the weather is still hot.
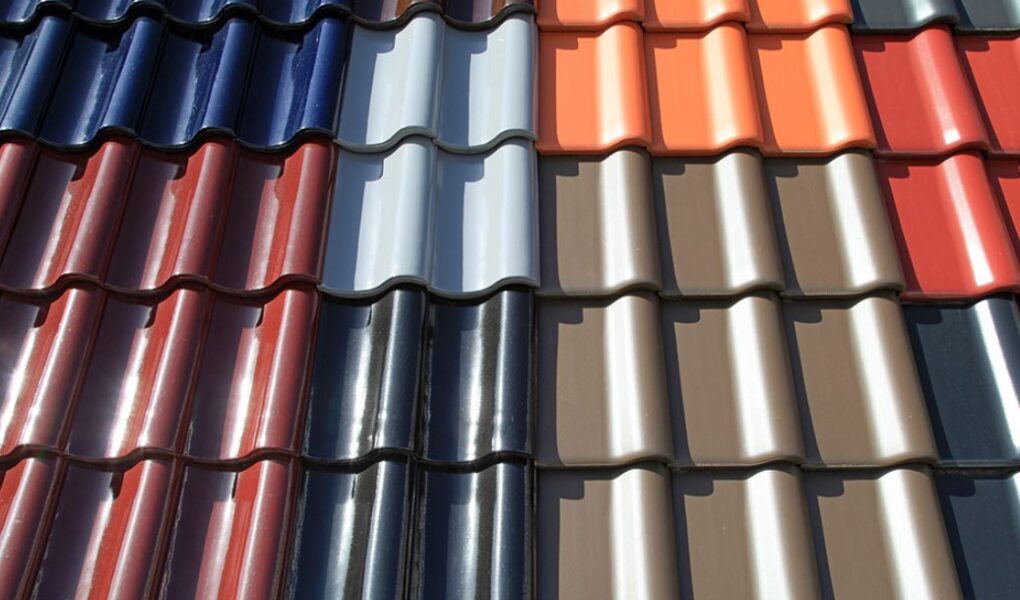
Get a proper paint
Although you can still renew your roofing with regular paint, it is not advisable to do that, so make sure that you get the proper colorant. The best option should be getting an acrylic colorant that has a water base. The worst option though is the latex option because they can create pockets where moss could build up and damage your building. Also, make sure that you get a priming liquid so the colorant can stick better.
Don’t forget about the additional equipment
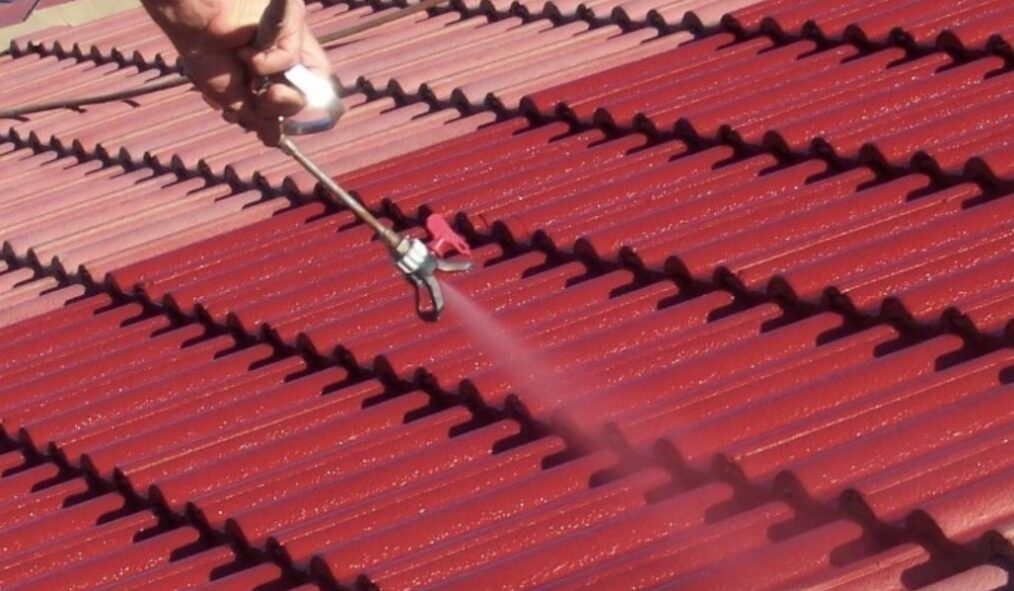
To get this job done properly you will need sufficient equipment that you have to get before you start. The most important thing is the spraying machine. It allows you to finish your work quickly and with better results. As we have mentioned above, it is nonsense of buying one just for a single project, so make sure to get one lent.
You can also do the same job with regular brushes and rollers but it will be a longer and less efficient process. However, make sure that you get at least a couple of brushes so you can go through areas that you have missed. Lastly, make sure that you get a harness so you can make sure that you will prevent your falls.
Coat it with a primer
Before colorant application, you have to apply a nice layer of a priming solution. It is essential both for the protection of the material underneath and for making the paint stick better. You cannot expect great results if you miss this step, so make sure that you will do it properly.
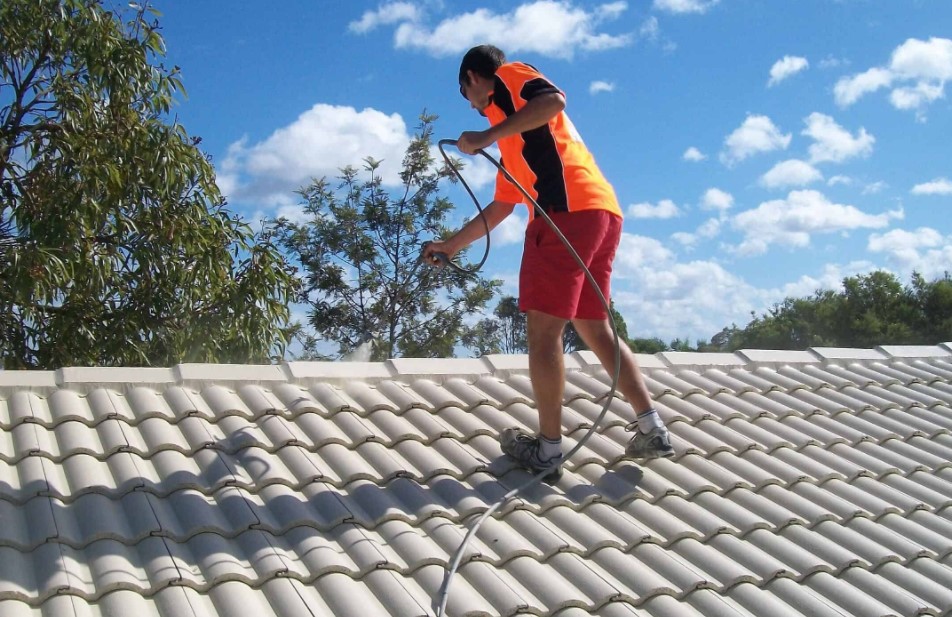
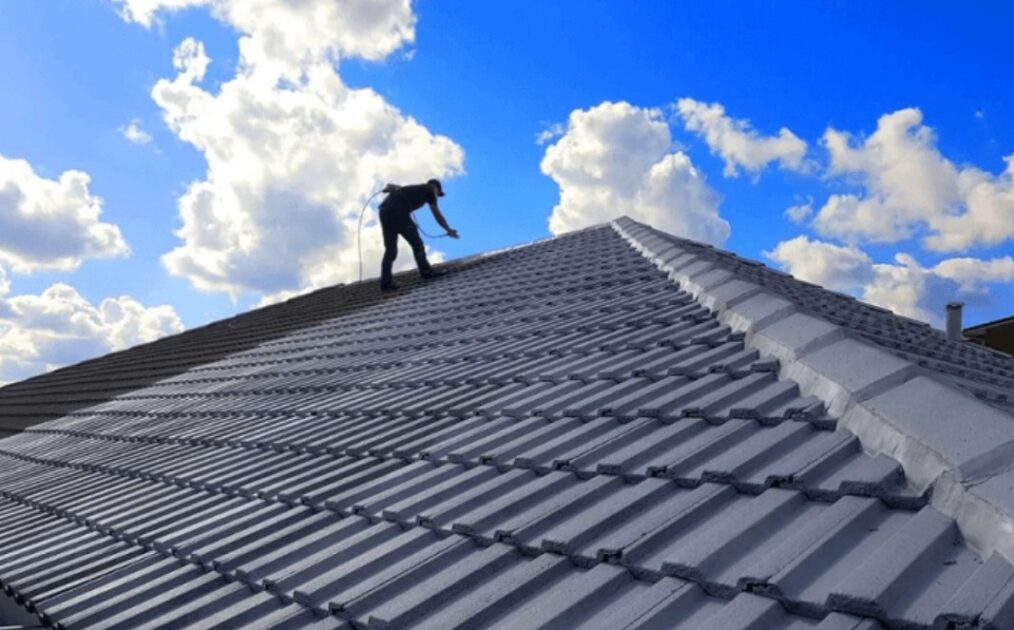
Get to the painting process
Lastly, the painting process is a follow to the previous priming stage. Before you begin with spraying, make sure that you cover anything that you don’t want to be colored. In case you have a skylight or something similar, cover it with nylon and tape.
The painting process begins from the upper portions and slowly progresses to the lower ones. As a scheme, you can start from the left upper corner, and go down in a vertical movement. Continue with that process until you cover your whole roof.
After that, you deserve a resting period, while everything gets dry. This can take several hours, but you can also leave it, and begin the second coat the next day. Do everything the same as the first time you have sprayed your roof so you have two even layers of paint.
Make sure that you cover all the small pieces that you might have missed with a brush. It is smaller and those tiny edges can be covered easily. In case you think that you need an additional layer, you can do that. Just make sure that everything is dry before you engage in that action. Lastly, take your time to admire the work that you have done and enjoy the new look of your place.